Scale Up Seamlessly: How Managed IT Services Perth Support Your Business Growth
As your business grows, so do its technological needs. Scaling your operations while maintaining a
As your business grows, so do its technological needs. Scaling your operations while maintaining a

In today’s fast-paced business world, technology plays a pivotal role in keeping operations smooth, efficient,

The Rising Threat of Cyber Attacks As the world becomes increasingly digital, businesses in Perth

The Importance of Choosing the Right IT Partner In today’s digitally driven business landscape, choosing
In the fast-paced world of business, managing IT costs efficiently while maintaining high productivity levels

In an era of constant digital transformation, businesses face a growing number of threats to
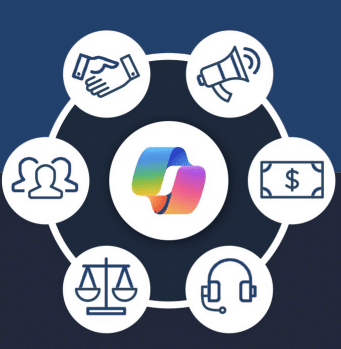
Have you given any further thought to how Microsoft Copilot could fit into your business?
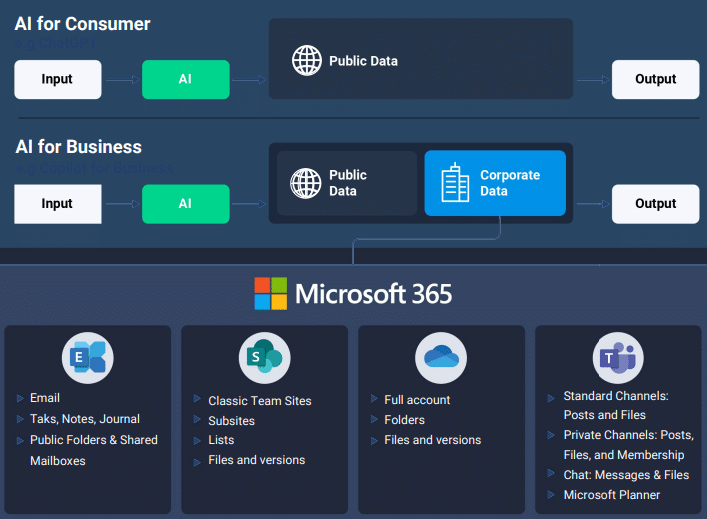
In recent months, we’ve observed a growing interest among our clients in leveraging AI technologies

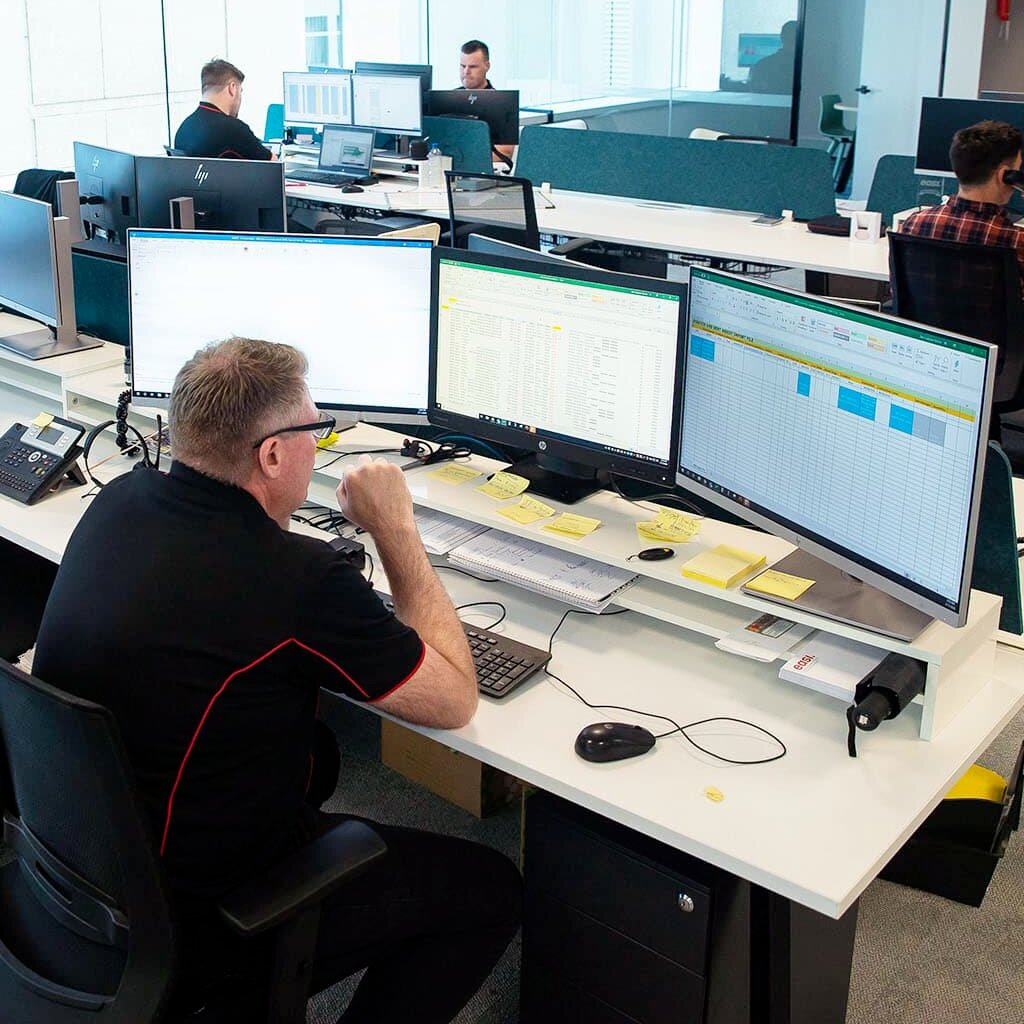
The Growing Need for Managed IT Services in Perth Technology is the backbone of every

Introduction If you know what the cloud is, chances are you might have heard about